In this course we will use python’s PIL ( aka pillow) library. The following examples show the common usage of the library.
EXAMPLE 1
In this example the script simply opens and shows an image file.
from PIL import Images
im = Image.open('lena.png')
im.show()
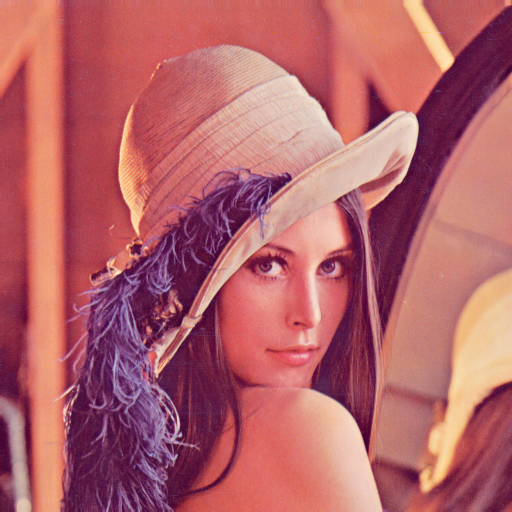
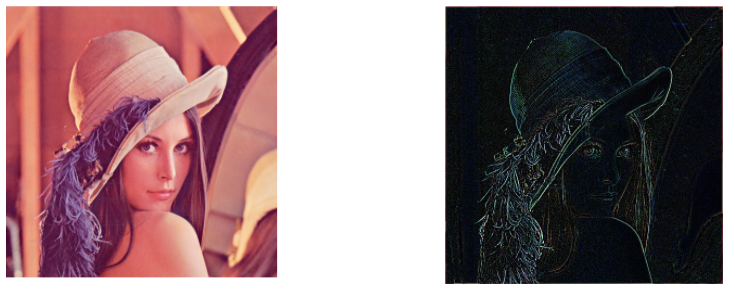
Lena image is a well-know image in processing literature. We will be dealing with this image and its gray scale version during the class throughout the semester. The above script simply reads a given image file and shows it with a predefined viewer program specific for your operating system.
EXAMPLE 2
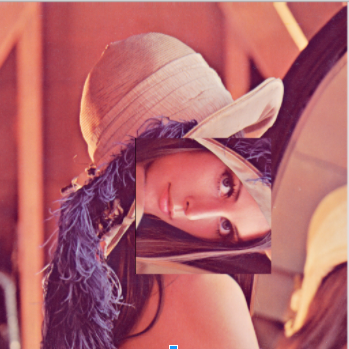
It is easy to select a rectangular box rotate in and poste it back. The following script can be given as an example.
from PIL import Images
im = Image.open("lena.png")
box = (200, 200, 400, 400)
region = im.crop(box)
region=region.rotate(270) #c.c.w.
im.paste(region, box)
im.show()
EXAMPLE 3
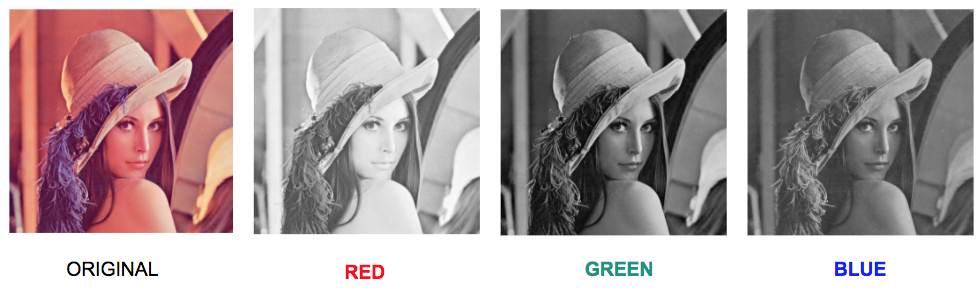
Once a color image is read, it is possible to split it into Red, Green and Blue Color components. The following script reads RGB Lena image and splits its RGB channels and saves them as separate JPEG image files.
from PIL import Image

im = Image.open("lena.png")
colors = im.split()

color_name = {0:'RED',1:'GREEN',2:'BLUE'}
for i in xrange(0,3):
	file_name = 'lena-'+color_name[i]+'.jpg'
	colors[i].save(file_name,'JPEG')
	print i,file_name
EXAMPLE 4
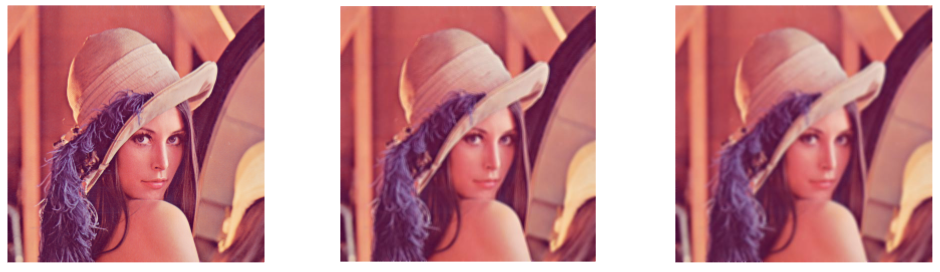
It is also possible to use predefined optimised filters for image manipulation. The following script reads Lena file and blurs it twice and saves both blurred images as separate JPEG files.
from PIL import Image,ImageFilter

im = Image.open("lena.png")
im_blur = im.filter(ImageFilter.BLUR)
im_blur2 = im_blur.filter(ImageFilter.BLUR)
im_blur.save('lena-blur.jpg','JPEG')
im_blur2.save('lena-blur2.jpg','JPEG')
EXAMPLE 5
Similarly operaions like Edge Detection can also be performed by using PILs predefined filters. The following script performs edge detection operation after reading Lena file.
from PIL import Image,ImageFilter

im = Image.open("lena.png")
im_edges = im.filter(ImageFilter.FIND_EDGES)
im_edges.save('edges.jpg','JPEG')
EXAMPLE 6
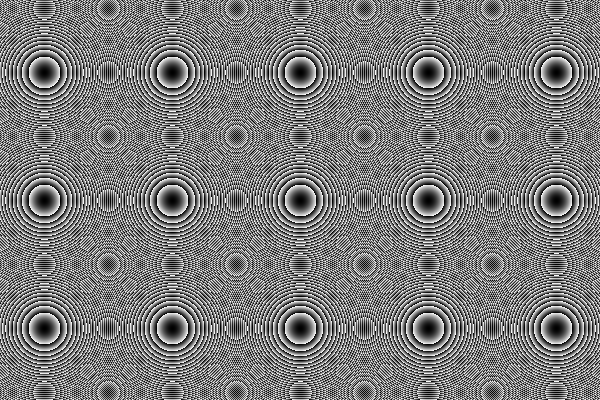
In this example we want to create an image file from scratch. The aim is to create an image which is darkest at its center and brightest at image corners. In order to create such an image, mathematical definition of circle can be used. The following code is trying to create such an image. It defines a circle located at the image center. The desired result is the image on the right but if you run the following script you get the image on the left. There is a little flaw in the following script. Can you find and fix it such that the code generates the image n the right?
import numpy as np
from PIL import Image

height = 400
width = 600

# Create an empty array
img = np.zeros((height, width), dtype=np.uint8)

#Create [x,y] coordinate combinations on grid
xx, yy = np.mgrid[:height, :width]
#Mathematical definiton of a circle centered at (200,200)
circle = (xx - 200) ** 2 + (yy - 300) ** 2

# Set the RGB values
for x in range(img.shape[0]):
    for y in range(img.shape[1]):
        intensity  = circle[x][y]
        img[x][y] = intensity

#Save Image directly from buffer
Image.fromarray(img,'L').save('circle-bad.png','PNG')

These are some introductory level scripts you can try and run: